So…here we go. My very first blog post, and DIY tutorial. This is so exciting, isn’t it? Well let’s just dig right in. I am always looking for quick and easy ways to give rooms in my house a ‘fresh’ look. I like change and I get sick of seeing the same old thing. Poor Justin has had to paint our kitchen three different colors in the two years we’ve lived here. So, if you’re like me, and need to switch things up every once in a while but don’t feel like spending more time and money than you have to spare, just make small changes. Throw pillows, rugs, LAMPSHADES. They can give a room a whole new feel… Which brings me to this DIY…Metallic Lined Lampshade.
What you’ll need:
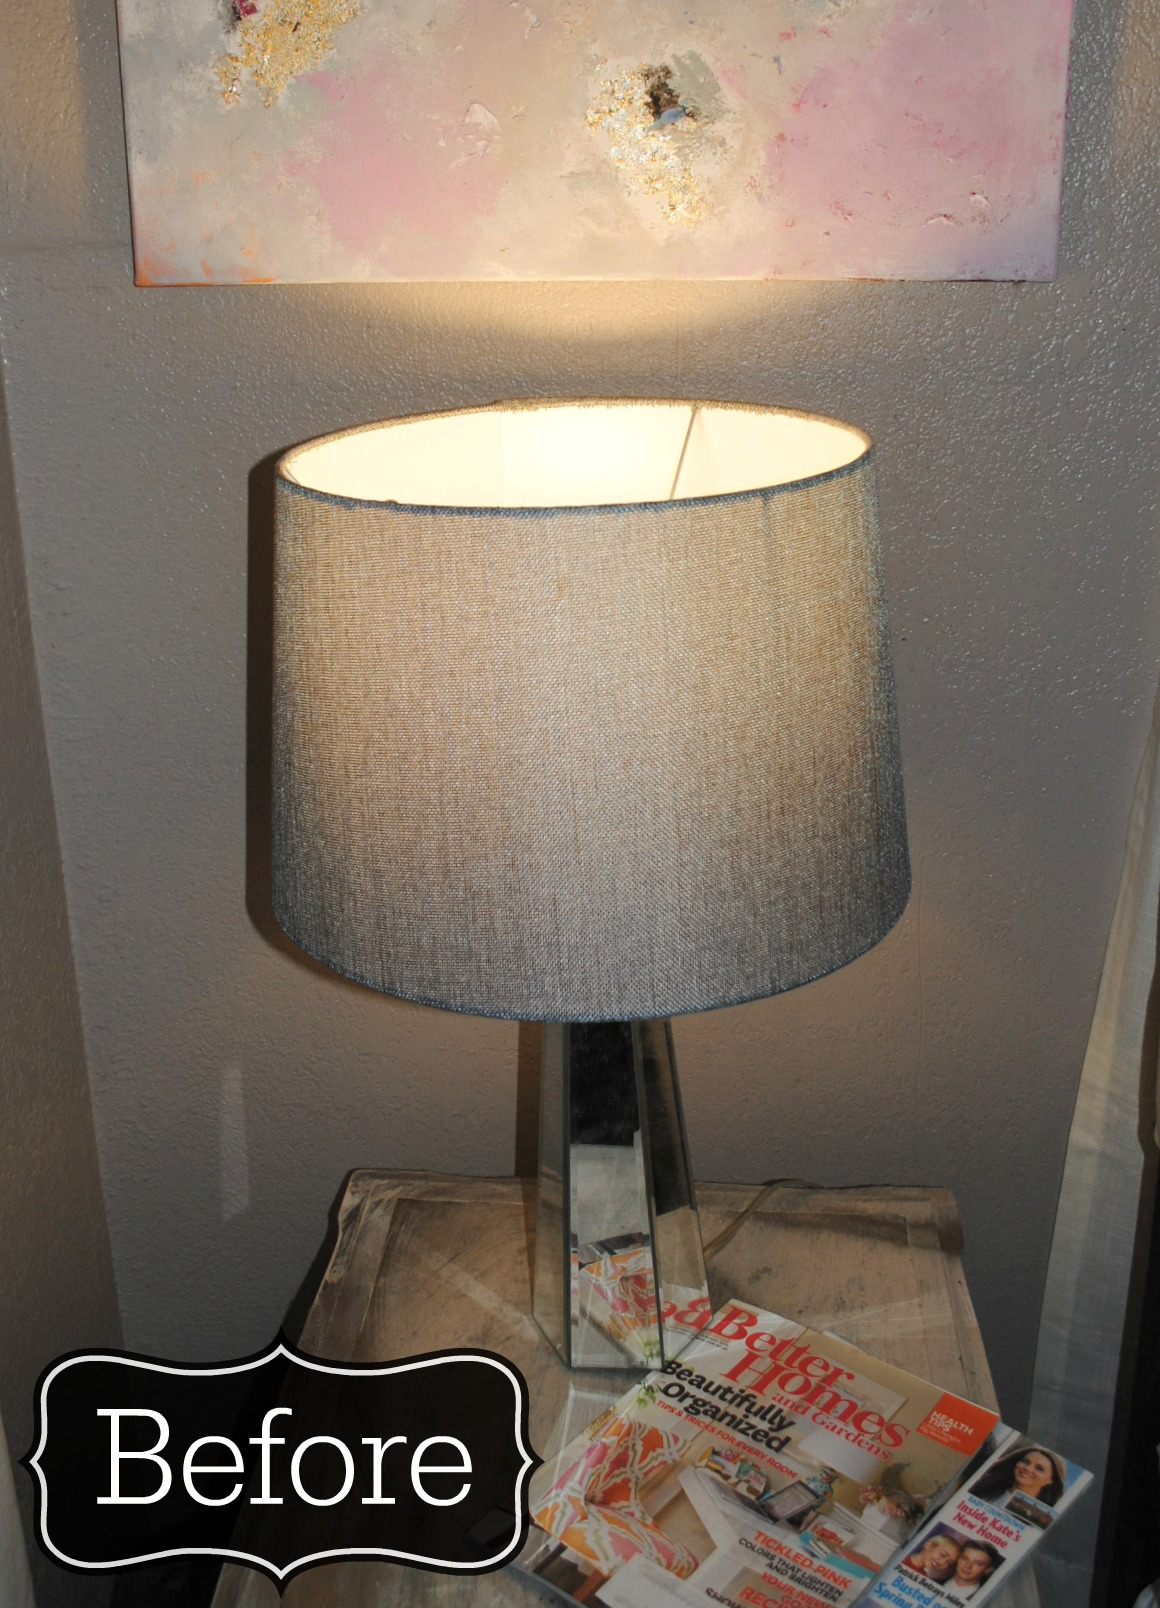
A lampshade: This is really vague. I had a couple of lampshades that weren’t currently being used (from all the changes I mentioned earlier). I had two of the same size Threshold Lampshades- one black, one grey. You can get them at Target for about 18 bucks, or you can just use whatever you have around the house, you can always paint it a color that fits your style. Although I think black or white would go best with this project. I would also recommend you use a lampshade that’s plastic lined. It just works better.
Paint: Now that we’ve covered the lampshades. Let’s move on to paint. I love to use Rust-Oleum flat black primer for lots of things ( I love the matte finish it has) so I just had it on hand. But if you are doing a different color shade-obviously grab a different color paint. Now onto the gold. I am obsessed with gold everything. So again, another thing I had on hand. You are welcome to use silver, copper, or any other metallic shade you can find.
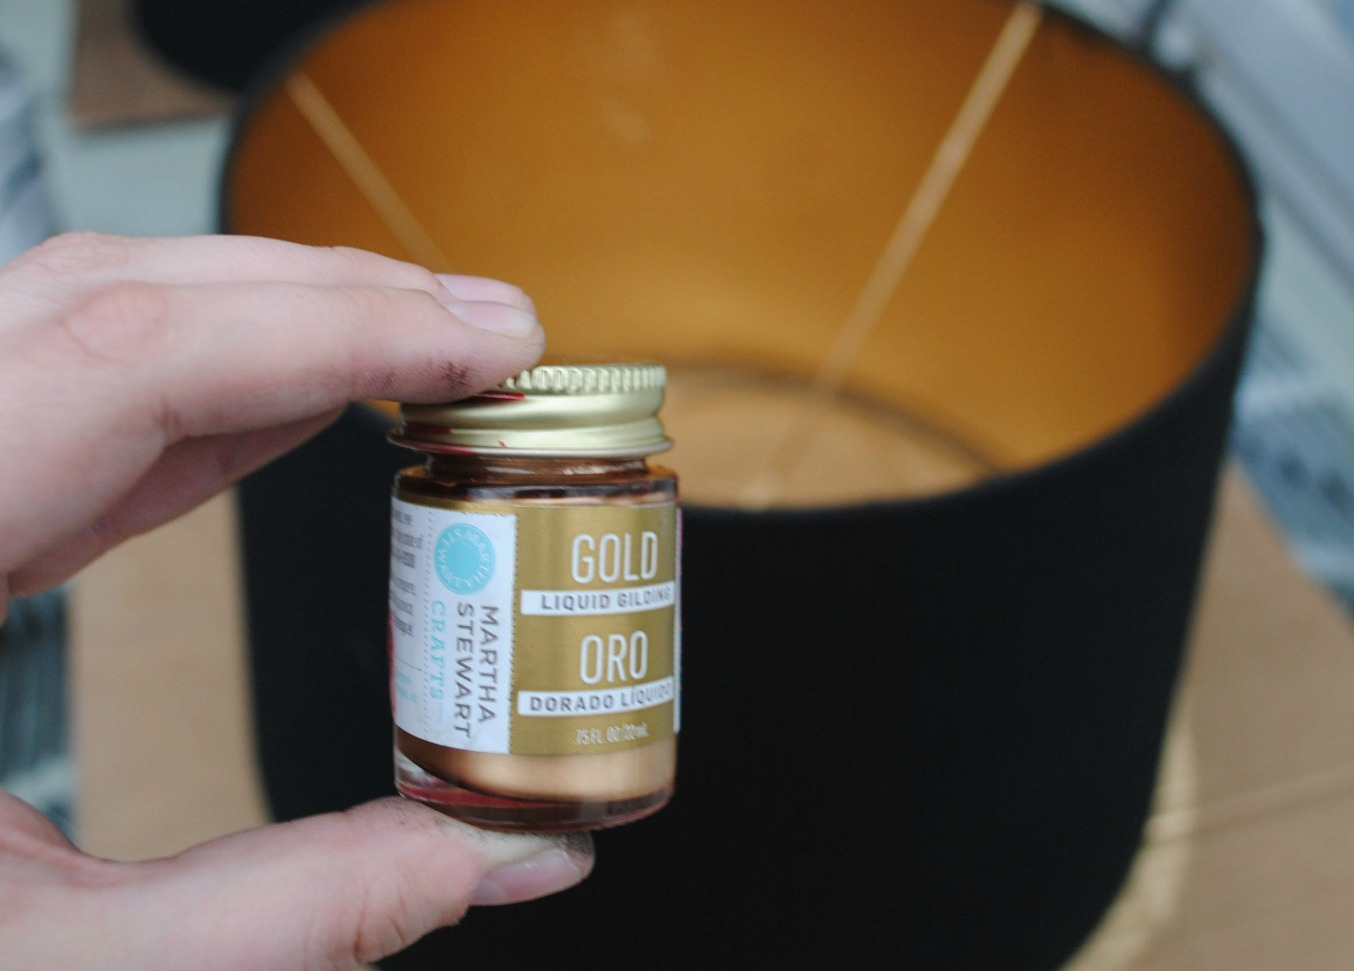
Gold Liquid Gilding: Honestly, this is optional. My shades looked good without it. But I just wanted to give it a really distinct metal look. You can get it at craft stores. I ordered mine on Amazon as an add-on item for about 5 bucks.

Now, the fun part. I started by adding a coat of the black primer to the white inside of both of my shades. Then, I went ahead and coated the outside of both of my shades with the black as well. The grey shade took a little bit extra to match the black of the other shade.

I let the black completely dry while I watched some Better Call Saul (my favorite show right now) and played with the puppies. Now, back to work…
I did one more coat of the black just to make sure everything was evenly coated. Let that dry…Then, onto the gold. I did one heavy coat, let that dry then a light coat. Being mindful of the top and bottom rims but if you get a bit outside of the lines, don’t panic. Just let it dry, then go back later with a q-tip, or if you’re like me and don’t mind getting a little messy, just use your fingers. Spray some black primer on a paper plate, dab the q-tip and cover the spots. 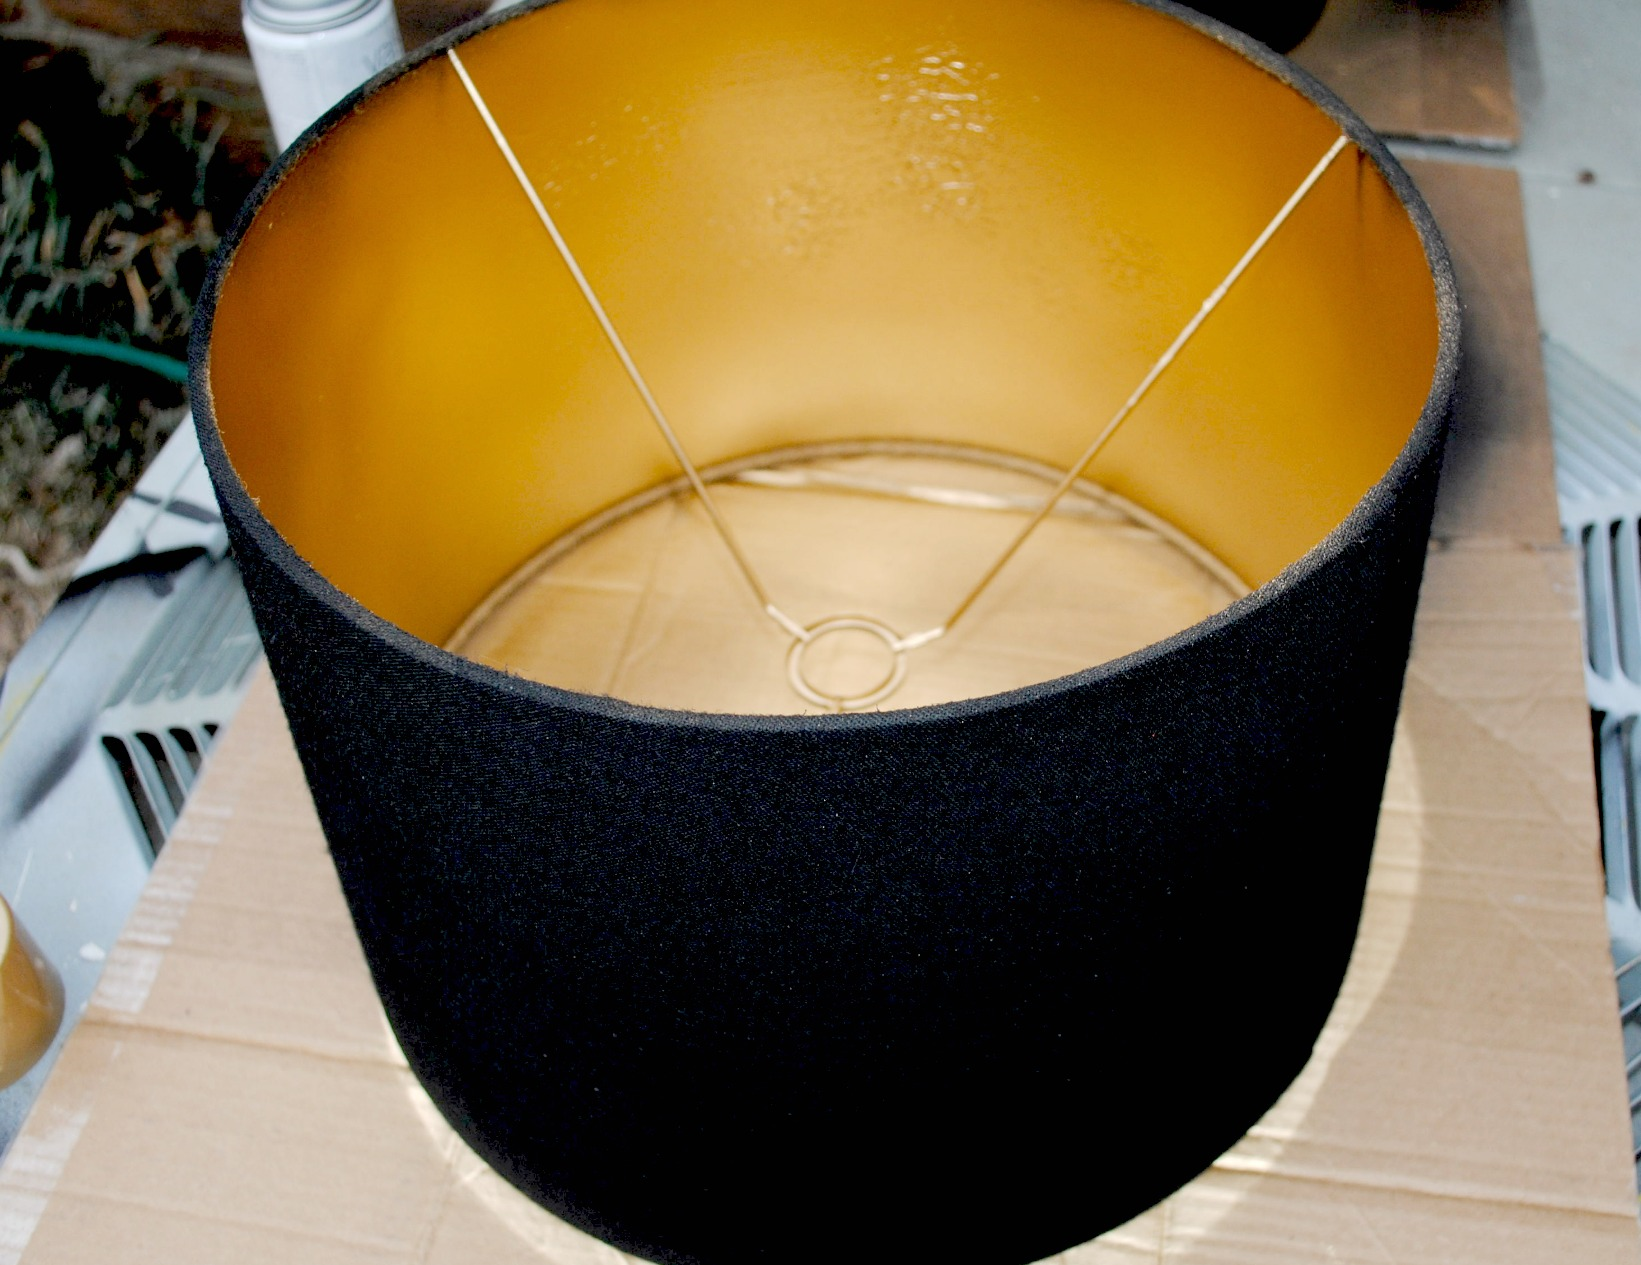
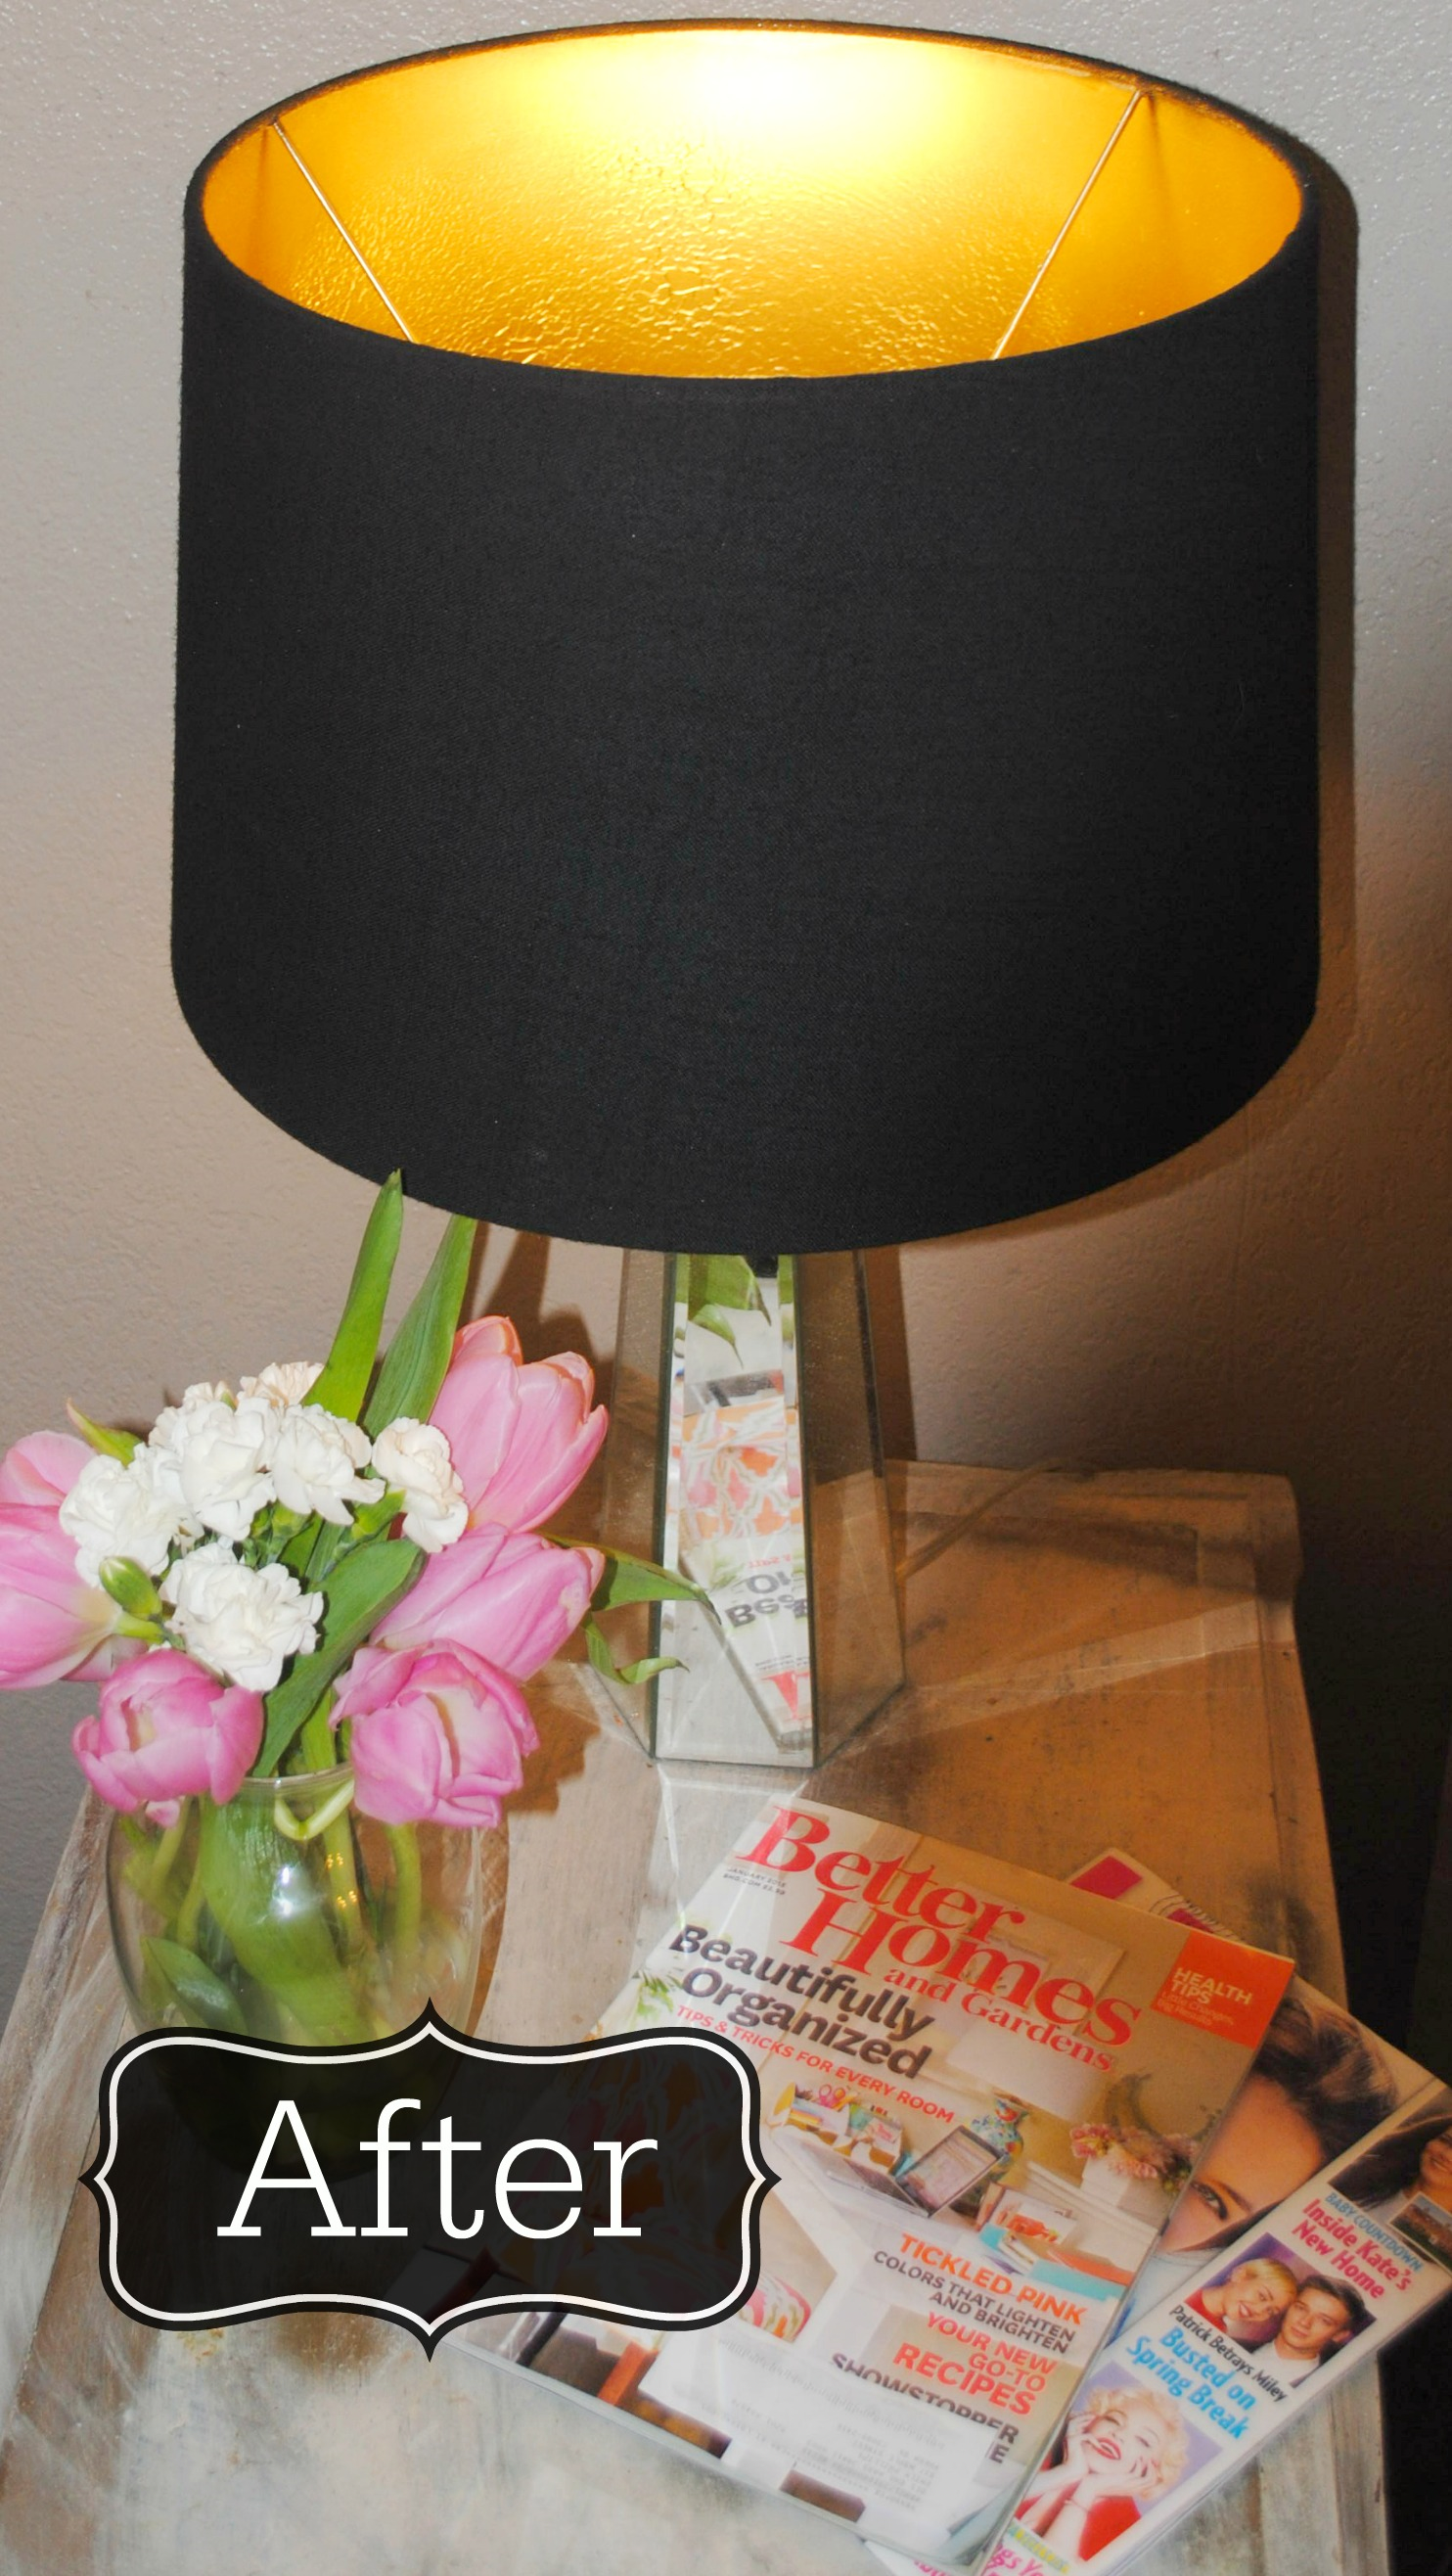
This is where some of you may differ. If you love the way your shade turned out, then you are more than welcome to stop there. But with my gold obsession, I went ahead and used a sponge brush to brush on a thin coat of gilding to both shades. Just gave it that little extra somethin’. 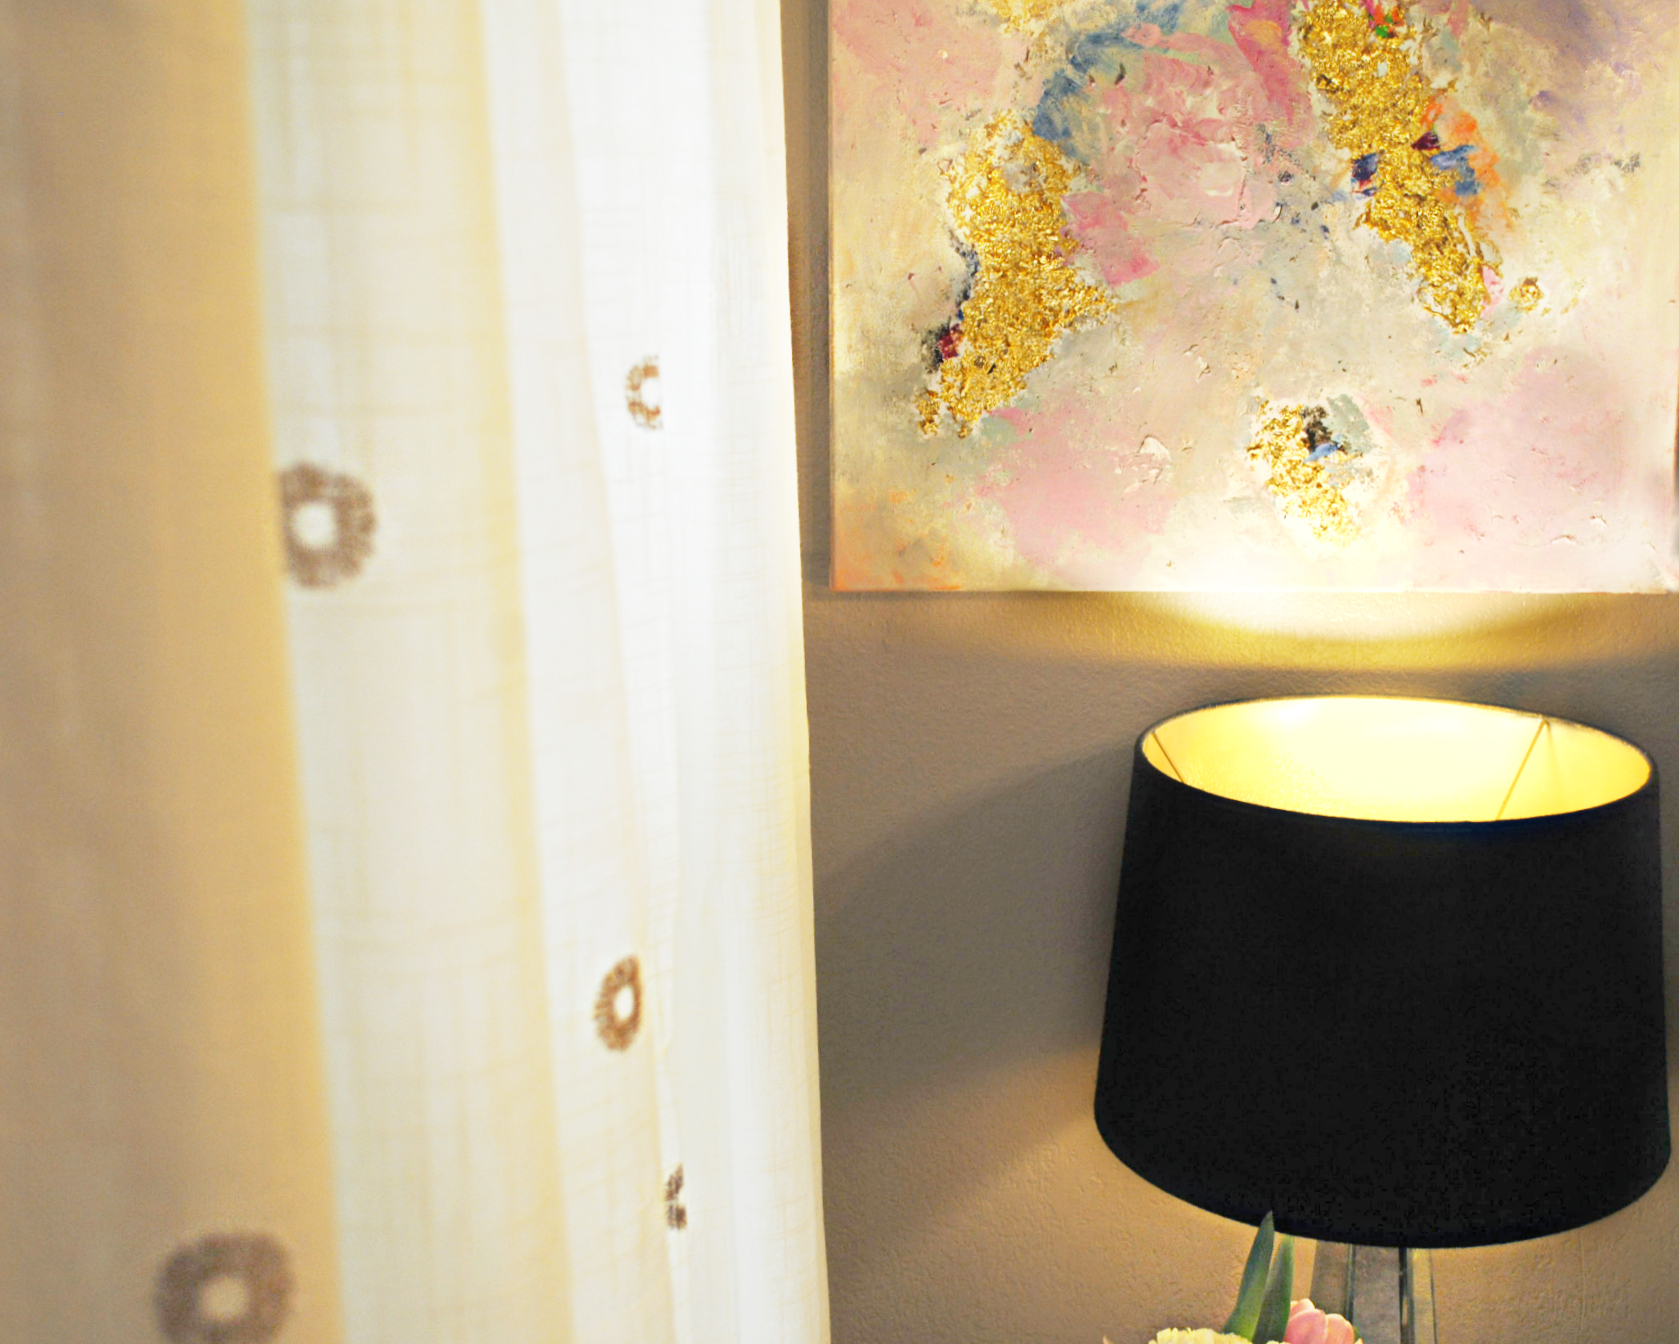
And Voila! A gorgeous metallic lined shade.
xo, E.
